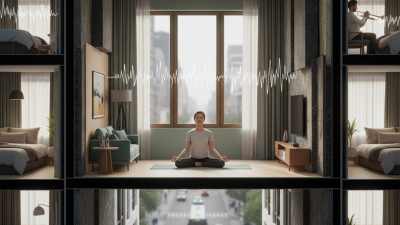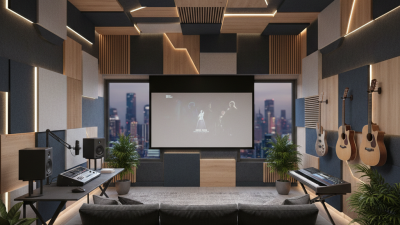
Choosing the right acoustic wall panels starts with listening to the room. Does speech blur across a meeting table? Does music linger after the final note? These clues point to different acoustic problems. Panels can reduce reflections and reverberation, but they cannot fix every source of noise. That distinction is easy to miss.
Professor Trevor Cox, an acoustic engineer at the University of Salford, studies how sound behaves in real spaces. A practical paraphrase of his field’s guidance is: “Choose treatment for the sound problem, not the wall alone.” This is a summary, not a verbatim quotation. It captures a useful starting point: assess the room before comparing panel colors or prices. A hard, bare office may need absorption near speech areas. A home studio may need more deliberate coverage, based on recording position and room response. The right choice also depends on panel thickness, material, mounting method, and tested performance. A decorative panel may look convincing. Its acoustic effect may be modest.
This guide outlines how to identify your needs, compare specifications, and plan panel placement. It also considers budget, appearance, and installation details. A phone recording can reveal an echo, but it cannot replace a professional assessment when precision matters. And even a careful plan can miss something. Notice how the room sounds after installation, then adjust if needed.
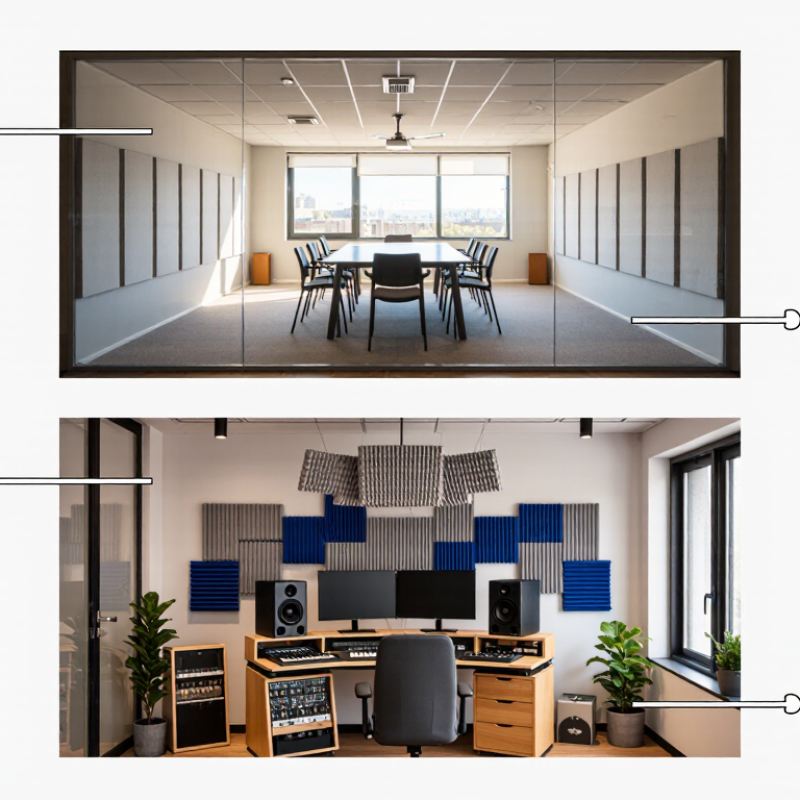
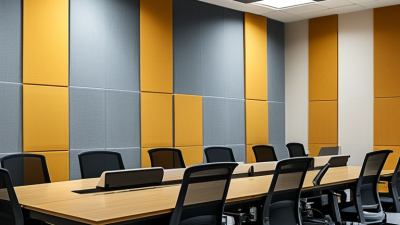
Before choosing acoustic wall panels, identify what you hear: speech sounds muddy, claps ring, or outside noise intrudes. These symptoms point to different problems. A clap that lingers in a tiled kitchen suggests reverberation; traffic coming through a wall suggests sound isolation, which absorptive panels alone will not fix. Start with listening. Note where people sit, speak, or struggle to hear. Check whether the problem changes when the room is occupied. A small detail, like a bare wall facing a conference table, can matter.
Measure rather than guess. Record the room’s dimensions, surfaces, and typical use, then note how long a handclap seems to decay. For a more reliable assessment, use an acoustician or suitable measurement equipment. ANSI/ASA S12.60-2010/Part 1 sets a 0.6-second reverberation-time limit for unoccupied core learning spaces up to 10,000 cubic feet. Treat that as a classroom benchmark, not a universal target for every room. Phone apps can offer a rough screening, but they are not a verdict. Occupancy, curtains, and furniture can change results, so repeat checks under realistic conditions. My instinct might blame an empty wall; measurements can reveal the ceiling or floor is contributing more.
How to use this chart: Porous panels typically absorb mid- and high-frequency sound more effectively than bass. If a room sounds harsh or speech echoes, wall panels can help control reflections. If low-frequency sound remains boomy, consider thicker panels or an air gap, and assess the room before choosing a treatment. Values shown are illustrative; actual absorption varies with material, mounting, and test method.
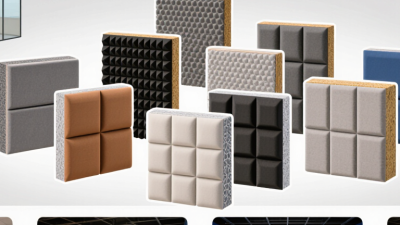
Start with the room’s actual problem. A sharp clap that lingers suggests reflected sound, not necessarily noise passing through the wall. Porous panels made with mineral wool, fiberglass, or recycled fibers can absorb reflections. Fabric affects appearance and durability, but the core, thickness, and installation matter more. Foam can help in some settings, though its performance varies by product and frequency. Acoustic panels usually improve room sound; they do not soundproof a wall.
Check the published absorption data before choosing by looks alone. The Noise Reduction Coefficient, or NRC, gives a rounded average across several midrange frequencies. It is useful for comparing panels, but it does not show performance at every frequency. Ask for test data, including the tested thickness and mounting method. An air gap behind a panel can improve low-frequency absorption, but results depend on the panel and room. Details matter. A high rating is not a guarantee of a quieter room.
Tips: Match the test setup to your planned installation. Compare panels at similar thicknesses, and check whether ratings come from an independent laboratory. If speech sounds harsh, begin with reflection points near desks or listening areas. Don’t cover every wall automatically; too much absorption can make a room feel unnaturally dull. I’ve found it easy to overlook that trade-off.
Choosing acoustic wall panels starts with the problem you hear. A sharp clap that lingers often points to reflections from bare walls. Listen for the tail. For a small office or listening room, several modest panels can cover reflection points without making the space feel crowded. Larger panels reduce seams and can look calmer on a broad wall, but size alone does not guarantee better sound.
Thickness affects which frequencies a panel can absorb. Thin panels can help control higher-pitched reflections, while thicker panels generally absorb more energy at lower frequencies. They will not, by themselves, stop sound traveling through a wall. If speech still feels muddy, placing panels at ear height on side walls may help; leaving a small air gap behind them can also improve absorption, depending on the panel and mounting method. Measure twice. I still find corners easy to overlook.
Coverage matters as much as panel dimensions. Start with the walls that reflect sound toward your main listening or working position, rather than covering every surface. A mirror can help locate side-wall reflection points: move it along the wall, and mark where you can see a speaker or the person speaking. Add panels there, then listen again. Room shape, furniture, and panel materials all change the result, so treat any coverage percentage as a starting estimate, not a rule.
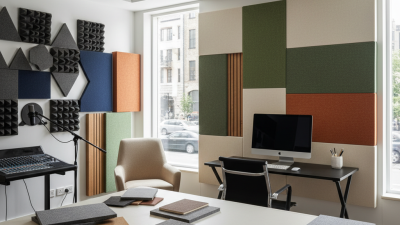
Begin with the main listening or speaking position, then identify the strongest reflection points. A helper can slide a small mirror along each side wall; mark the places where you can see a speaker or the person talking. Those are practical panel locations. Mark the spots. Mount panels near ear height, and treat both side walls where possible. In a recording room, a panel above the listening area can also reduce ceiling reflections. Leave some bare wall if the room starts to sound unnaturally dull.
Placement should match the problem, not just fill empty space. Clap once from the listening position and listen for a sharp flutter or lingering echo. Add panels gradually, then repeat the test from the same spot. A rug may soften floor reflections, while thick corner treatment can help with uneven low-frequency buildup. Results vary with room size, furniture, and panel thickness, so one layout rarely works everywhere. Acoustic panels absorb some sound inside a room; they do not block noise traveling through walls. The distinction matters. A tidy grid can look convincing and still miss the troublesome reflection, so trust careful listening over symmetry.
| Room Area | Common Acoustic Issue | Suggested Panel Placement | Planning Guidance |
|---|---|---|---|
| Side walls in a listening or meeting room | Early reflections can reduce speech clarity and make listening less focused. | Place panels at the first-reflection points between the main listening position and speakers or talkers. | Find reflection points with a mirror: while seated, have someone move a mirror along the wall; mark spots where the speakers or talkers become visible. |
| Wall behind the main listening position | Reflections from a nearby rear wall can create echoes or a strong sense of room liveliness. | Cover part of the wall behind listeners, prioritizing the area at ear height. | In a small room, give this wall particular attention. Keep panels clear of doors, vents, and required access points. |
| Wall behind speakers or a presentation area | Reflected sound may blur music, speech, or amplified presentations. | Use panels on the wall behind the sound source when listening tests indicate strong reflections. | Placement depends on room layout and source direction; avoid assuming that covering one wall will solve every acoustic issue. |
| Large, parallel side walls | Sound can repeatedly reflect between bare, parallel surfaces, causing flutter echo. | Distribute panels along the opposing walls rather than concentrating them all in one small area. | Listen for a rapid, ringing echo by clapping in different parts of the room, then treat the surfaces contributing most to it. |
| Speech-focused spaces | Excessive reverberation makes conversation and presentations harder to understand. | Place panels across the main reflective wall areas near people speaking and listening. | Distribute absorption around the room. The appropriate amount depends on room size, furnishings, occupancy, and intended use. |
| Rooms with persistent bass buildup | Low-frequency sound may remain uneven even after thin wall panels are installed. | Use appropriately designed thicker absorbers or bass traps at suitable wall or corner locations. | Standard thin panels are generally more effective at mid and high frequencies than at deep bass; choose treatment based on the frequency problem. |
| Panel thickness and spacing | Panel performance varies with material, thickness, mounting method, and frequency. | Select panels with published absorption data and follow the manufacturer’s installation guidance. | An air gap behind a porous panel can improve absorption at lower frequencies compared with mounting it directly against a wall, depending on the panel and gap. |
| Overall sound-control goal | Absorption can reduce reflections and reverberation inside a room, but it does not by itself block sound transmission through walls. | Plan panel locations around measured or clearly heard reflection problems; use construction measures when sound isolation is needed. | For better sound isolation, address paths such as gaps, doors, windows, and wall construction. Acoustic wall panels are room-treatment products, not a substitute for soundproofing. |
Before choosing acoustic wall panels, confirm what the wall can support. Check the panel weight, substrate, fixing method, and any required air gap; plasterboard, masonry, and timber studs need different anchors. Ask for tested installation details, not just a product photograph.
ASTM C423 defines the Noise Reduction Coefficient (NRC) as an average of absorption results at 250, 500, 1,000, and 2,000 Hz. That figure is useful, but it can hide weaker performance at lower frequencies. Check the full test data and whether it matches your planned mounting method.
Small details matter. A sample panel installed on one wall can reveal visible seams, awkward edges, or unexpected room reflections before you commit.
Plan for maintenance, too. Check whether the finish can be vacuumed, wiped, or spot-cleaned, and follow the manufacturer’s care instructions. Avoid soaking fabric panels; moisture can stain the surface or affect the backing. Inspect fixings after installation and again during routine room checks, especially in busy corridors.
For a useful room benchmark, ANSI/ASA S12.60 sets a 35 dBA background-noise limit and a 0.6-second reverberation-time limit for certain small classrooms. These are classroom criteria, not universal targets, but they show why panel placement and room conditions matter.
I would not assume a high NRC alone will solve every echo. Room shape, furniture, and sound sources can change the result. A maintenance plan helps keep panels secure and their surfaces presentable over time.